Manual · every panel, every preset
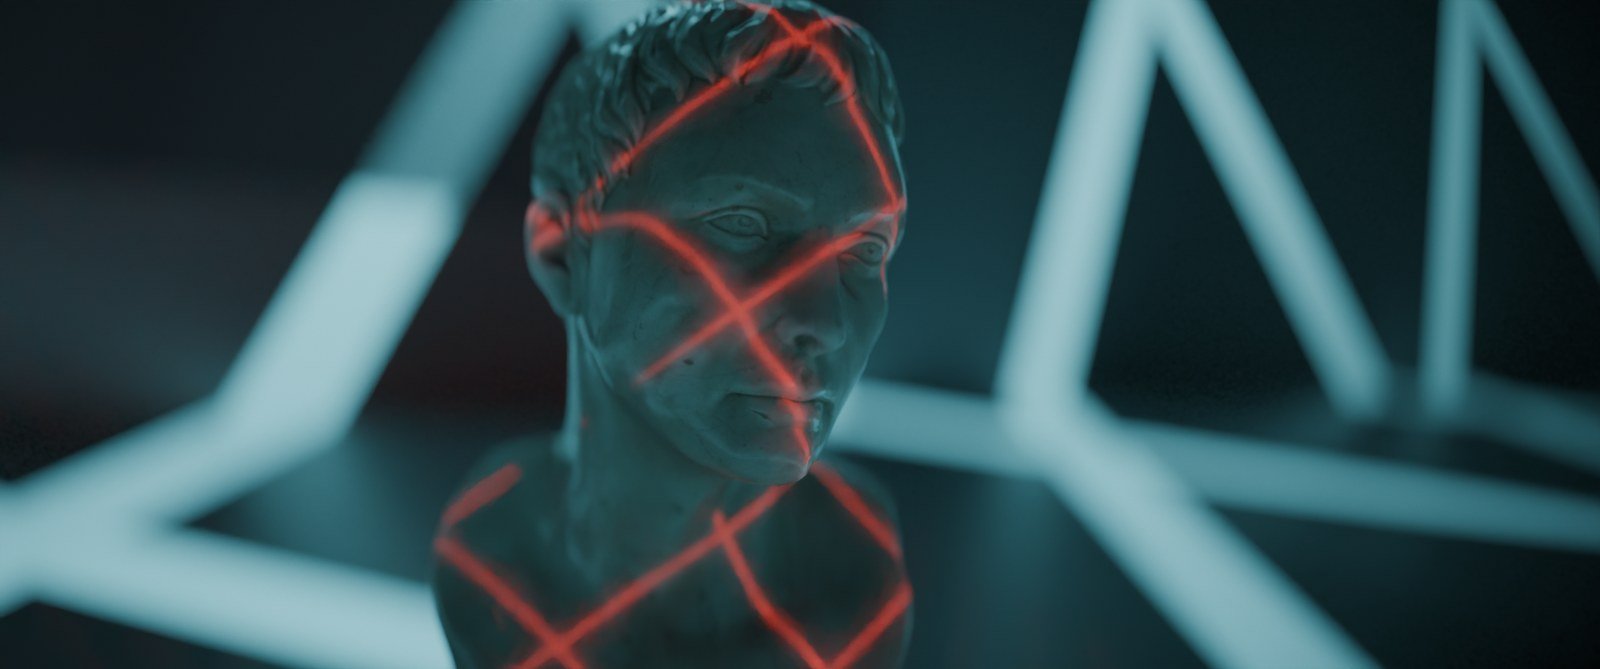
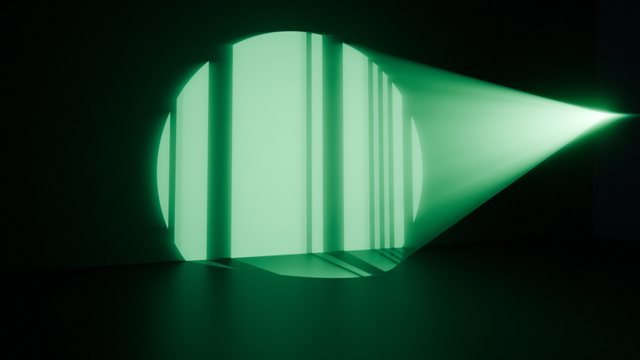
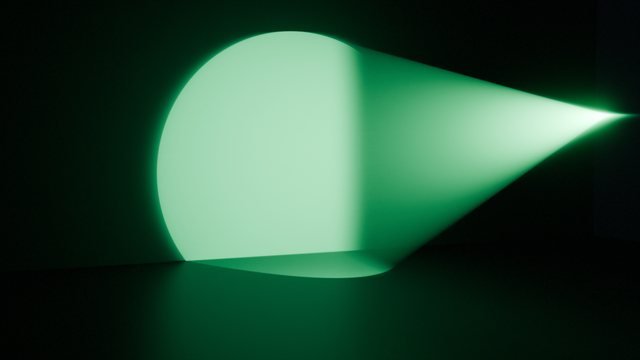
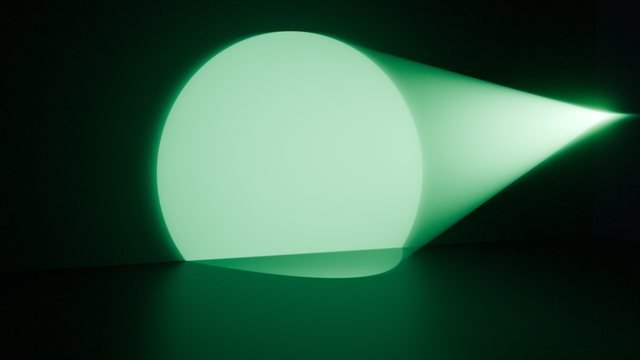
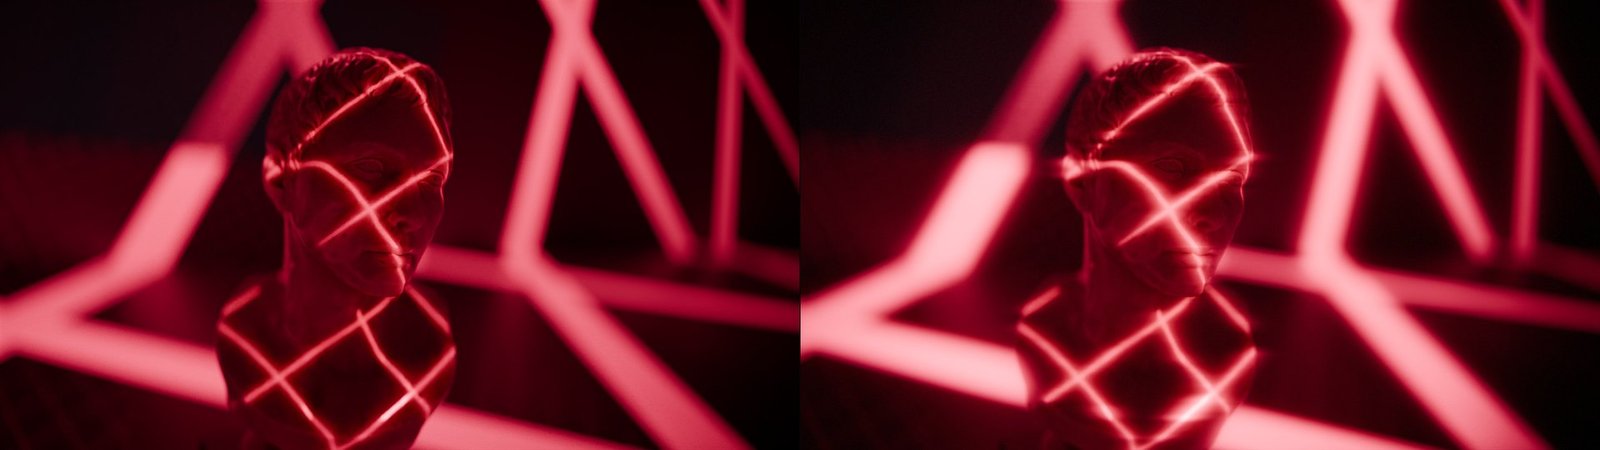
Turn any Area or Spot light into an animated laser projector. Pick a preset, tweak a few plain-English settings, and the pattern lands on whatever the light hits — heads, products, walls, fog. It all lives on the light’s own shader tree: no gobo mesh, no extra geometry, and nothing standing in the beam casting a shadow.
01 · Getting started
Patterns are drawn by a light node tree, which is a Cycles-only feature in Blender. The panel spots another engine and offers a one-click switch.
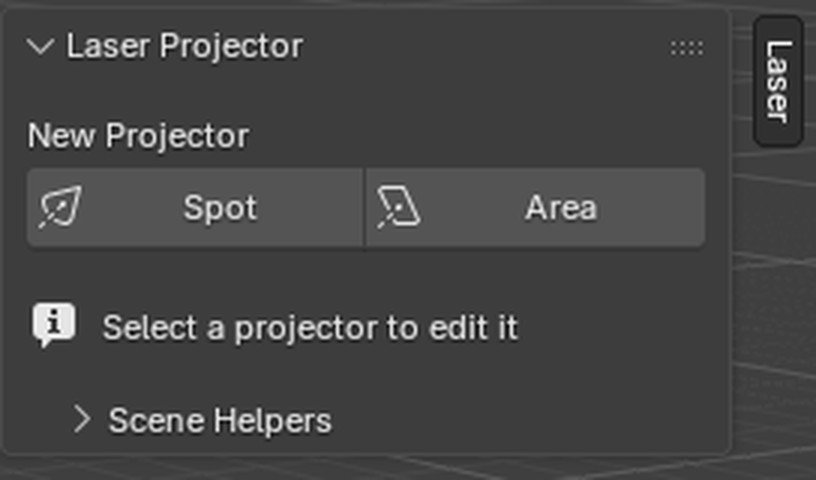
The whole add-on before you click anything — two buttons and a hint. Everything else appears once a projector is selected.
laser_projector folder yourself.N in the viewport
— the Laser tab is there.02 · Reference
One sidebar tab. Panels above your edition are not there at all — lower tiers ship with those modules deleted, not greyed out.
The panels below are in the order the sidebar draws them, so reading down this page and scrolling down the sidebar are the same motion. The badge on each is the lowest edition that ships it.
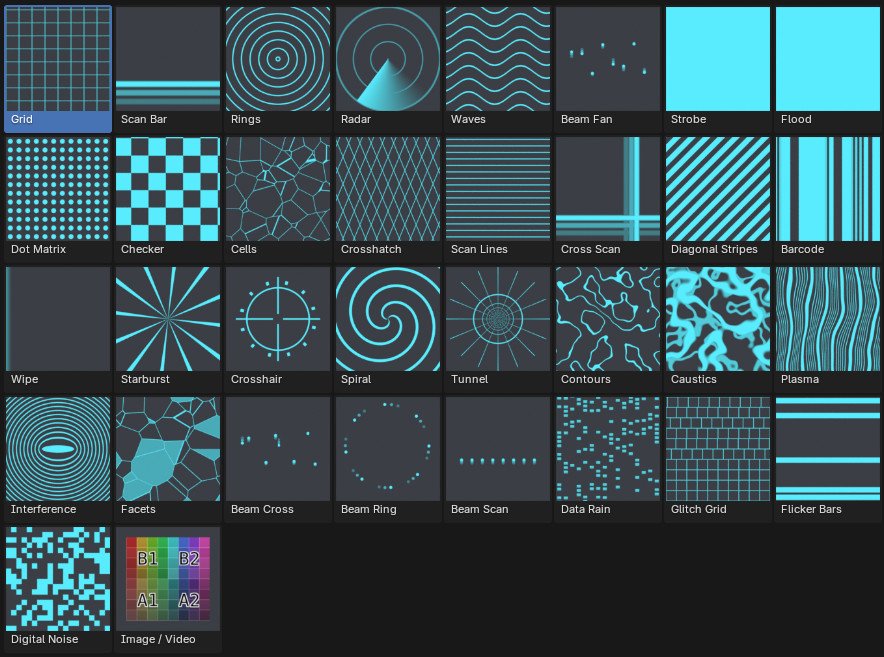
The picker draws its own, so a preset you edit and re-render looks like itself in the list. Re-render Thumbnails in Scene Helpers rebuilds the set; the gallery toggle switches between this wall and a compact row.
03 · Library
Seven categories, every one animated. Free ships eight, Lite adds twenty-five, Image / Video is Pro. The mono line under each name is what it does when you press play.
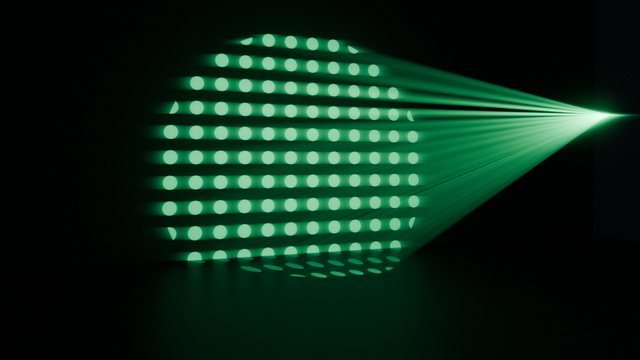
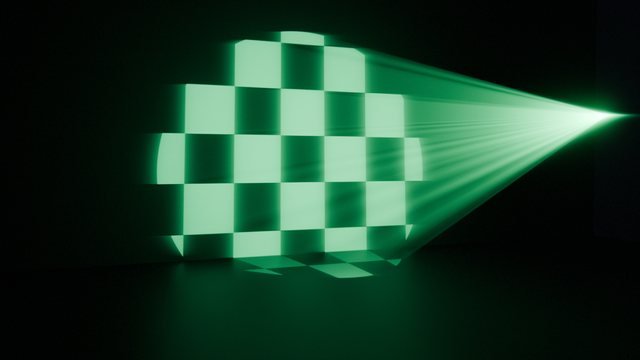
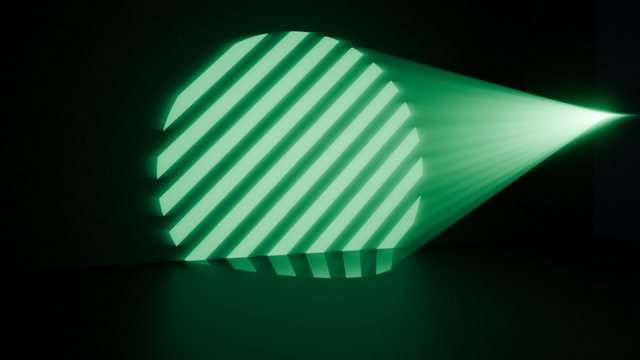
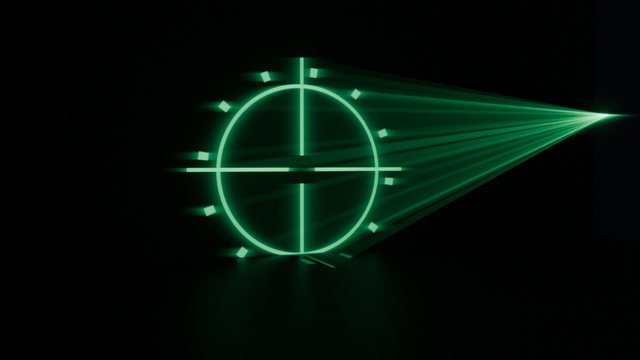
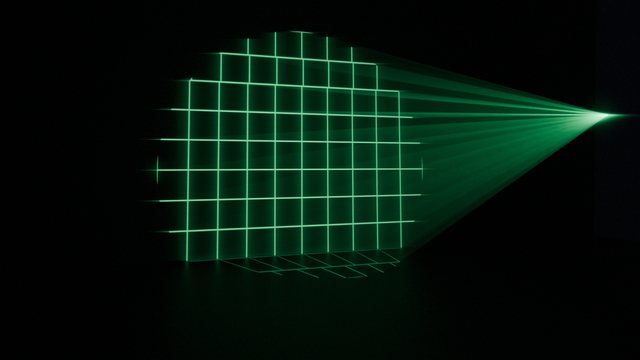
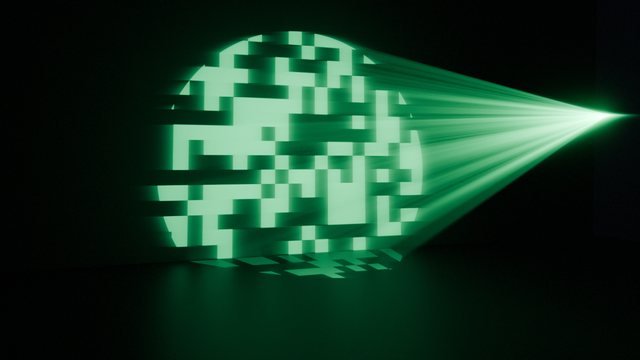
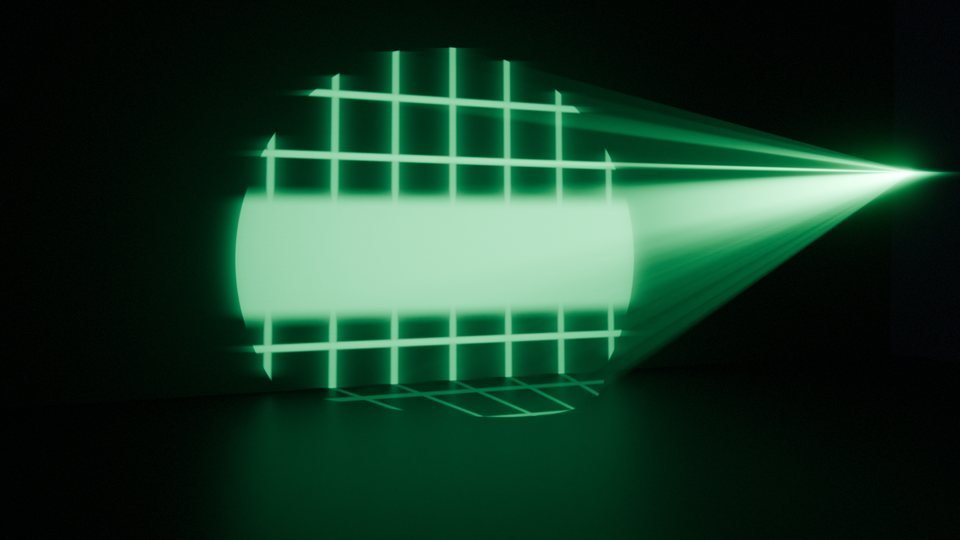
Repeating cells. The projector default and the easiest thing to read on a face.
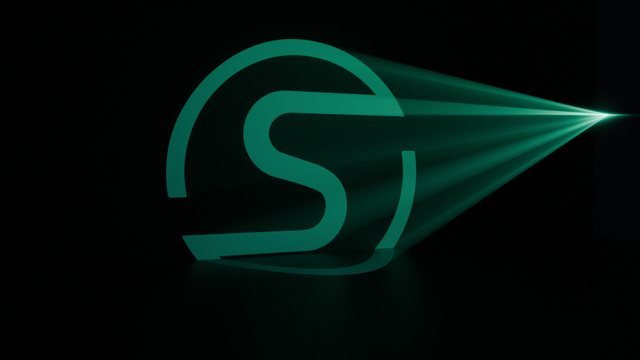


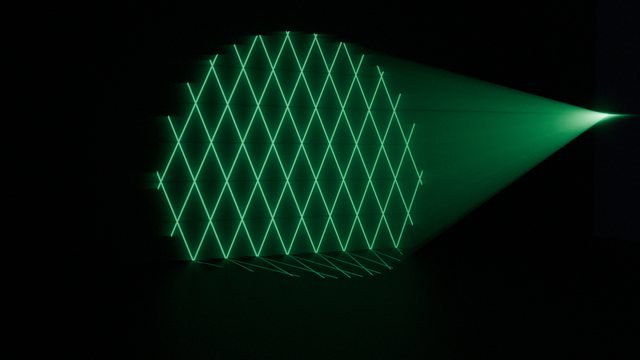
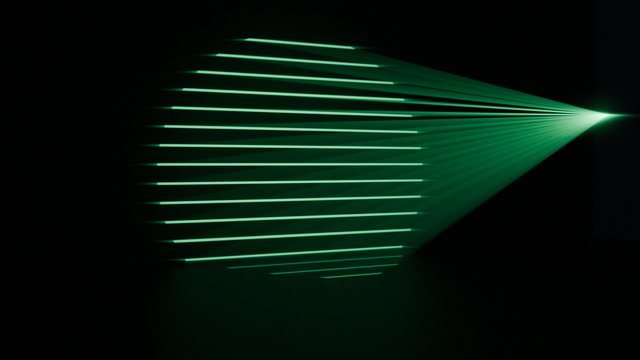
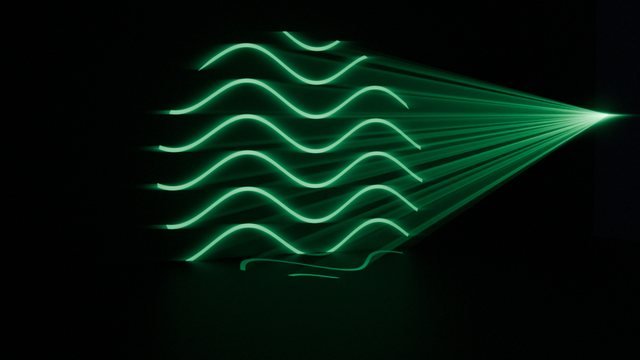
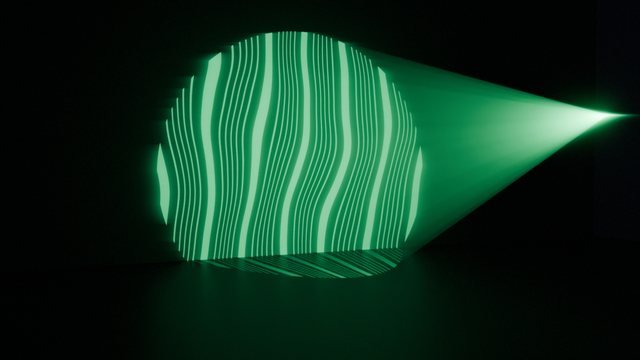
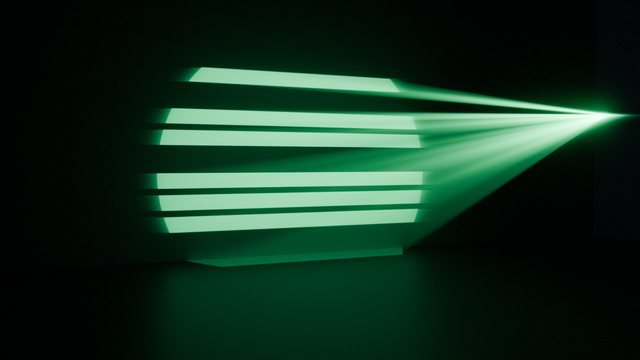
Bars and lines that travel. The club look, and the one that reads best through haze.


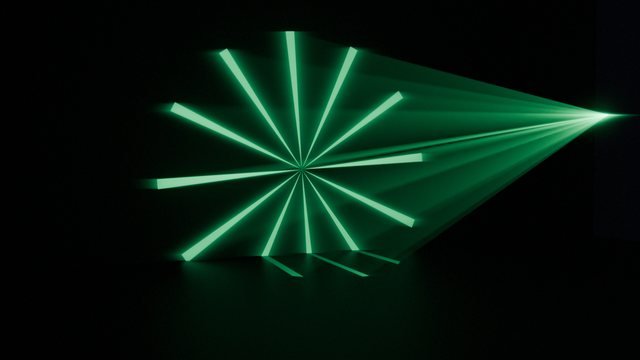
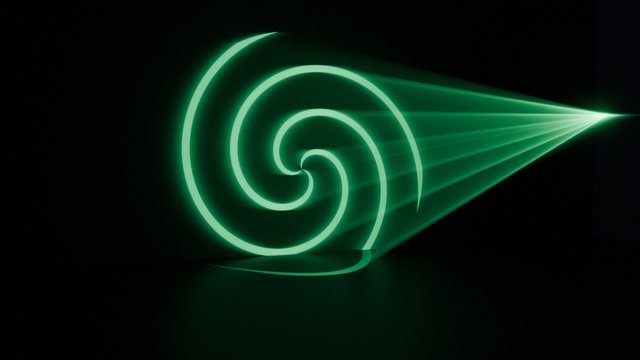
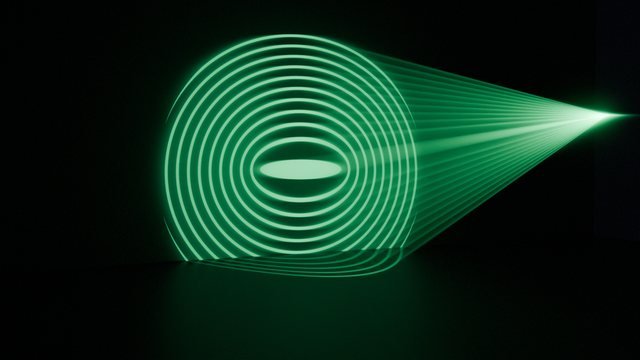
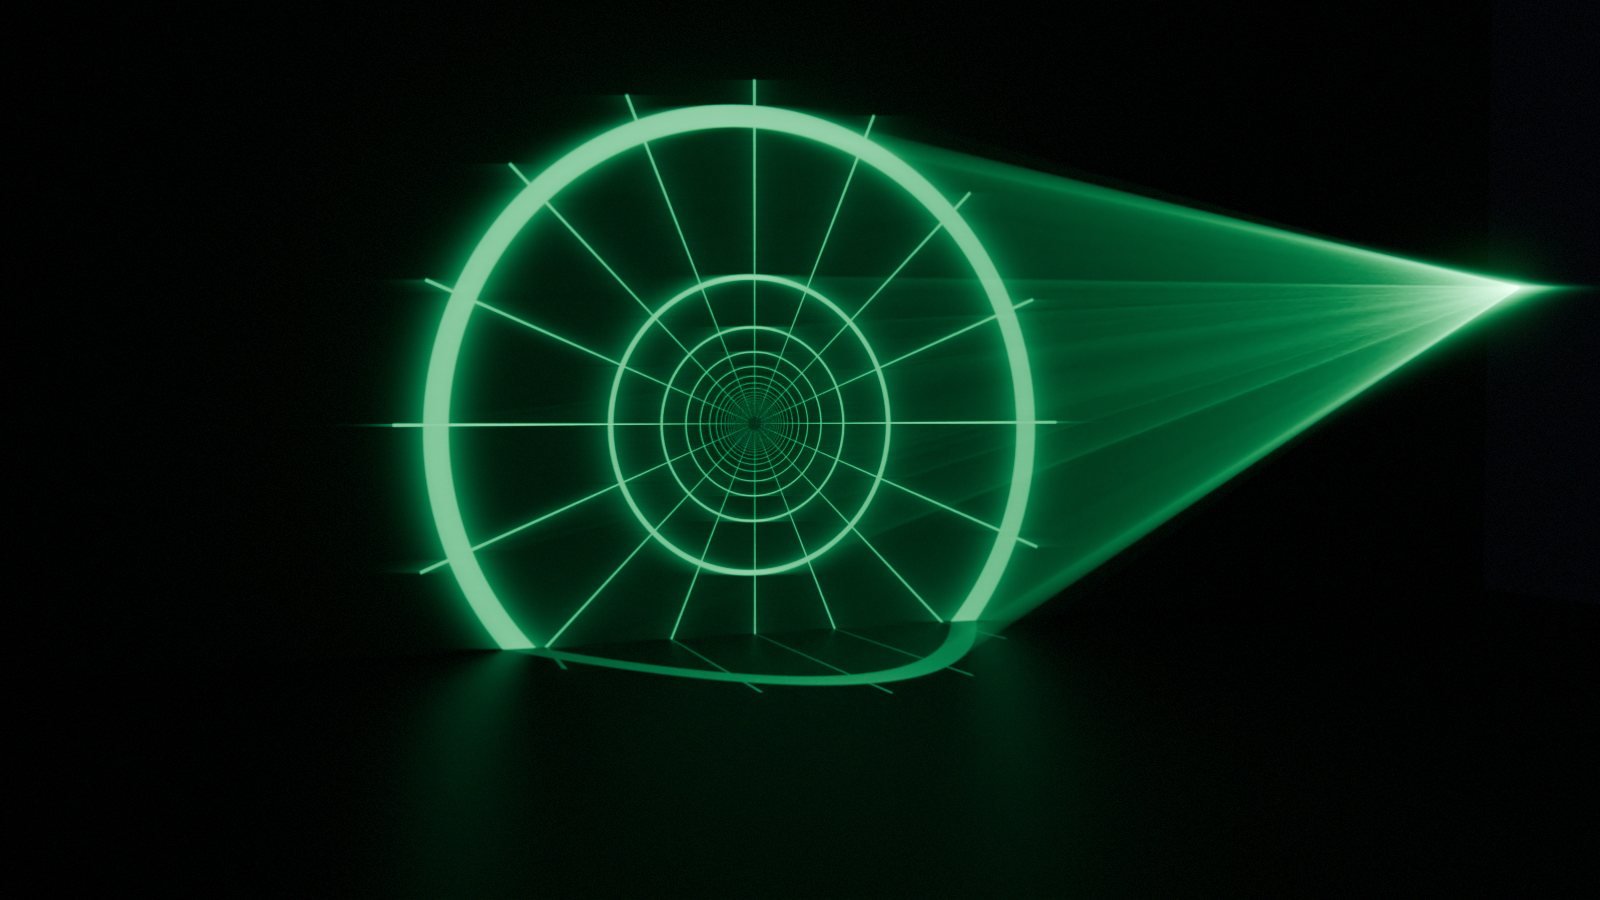
Everything that turns around the centre of the aperture, or runs out from it.


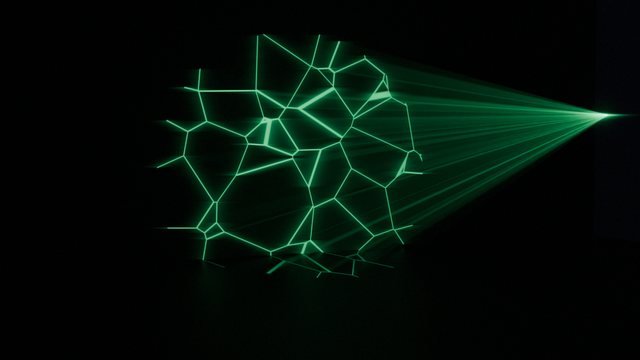
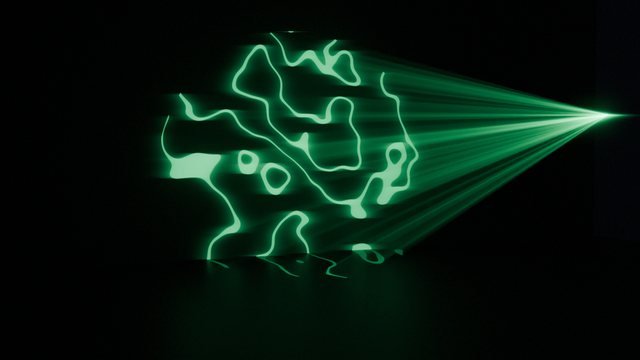
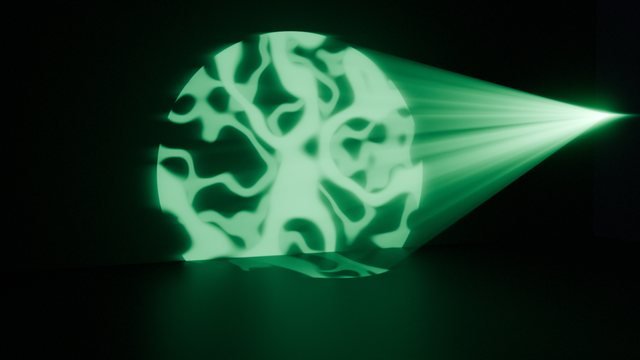
Noise-driven and continuous. These are the ones that look like they were filmed rather than generated.
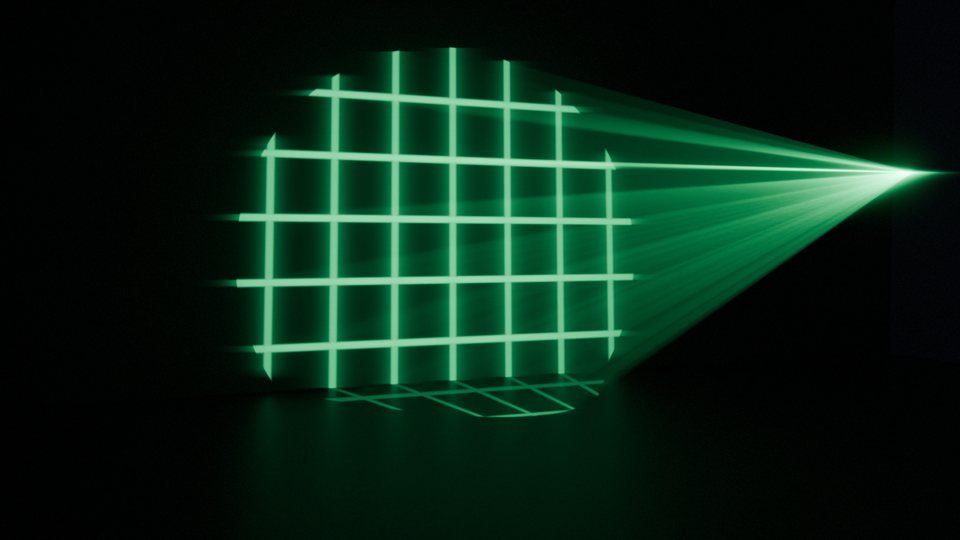


Stepped rather than smooth. Everything here animates on hard cuts, not curves.


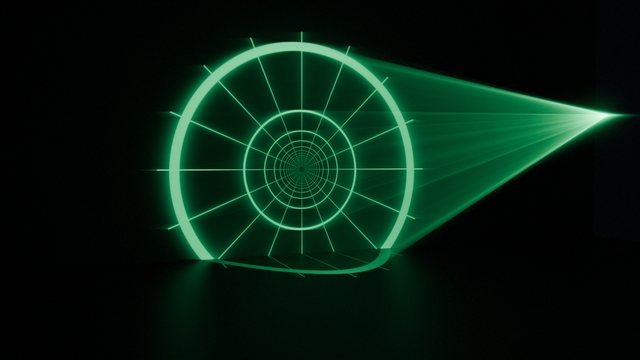
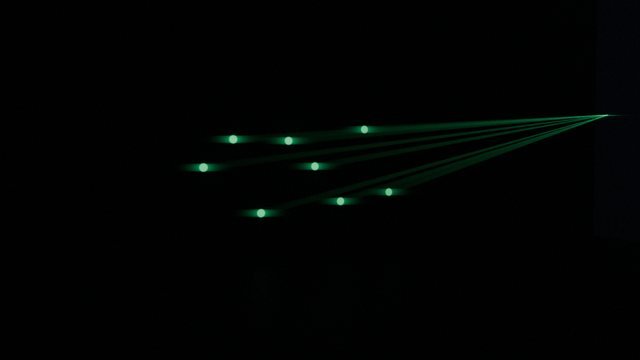
Built for the volumetric beam system. The shader and the mesh share one set of settings.


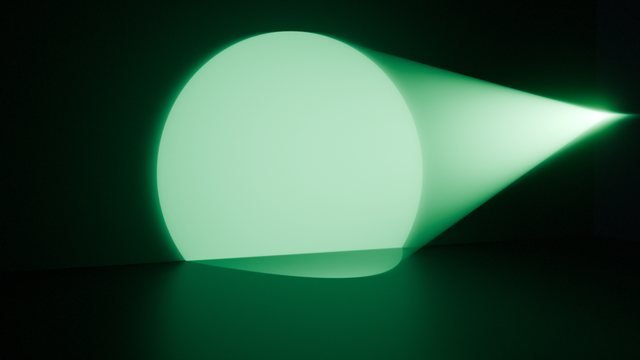
The two that are not procedural — plain light, and your own artwork.


Animation runs on seconds, not frames, so a preset loops cleanly when the frame range matches its own period rather than whatever your scene happens to be set to. Spiral at Speed 0.5 has a period of exactly 4 s — 96 frames at 24 fps, 100 at 25. Change the scene frame rate and the motion stays put.
Time Offset staggers a rig of projectors running the same preset, so a bank sweeps instead of moving in lockstep.
04 · The stack
Four stages sit between the preset and the beam. Each is optional and each applies to every preset. A stage that is off is linked around rather than muted, so it keeps its settings and costs nothing to render.
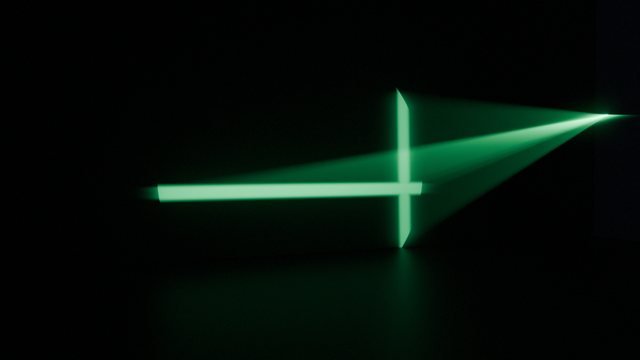
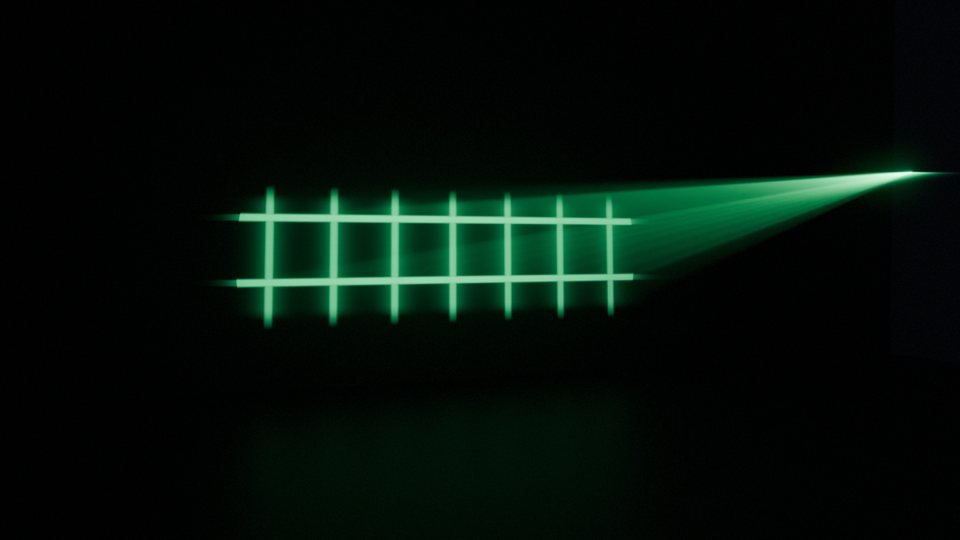
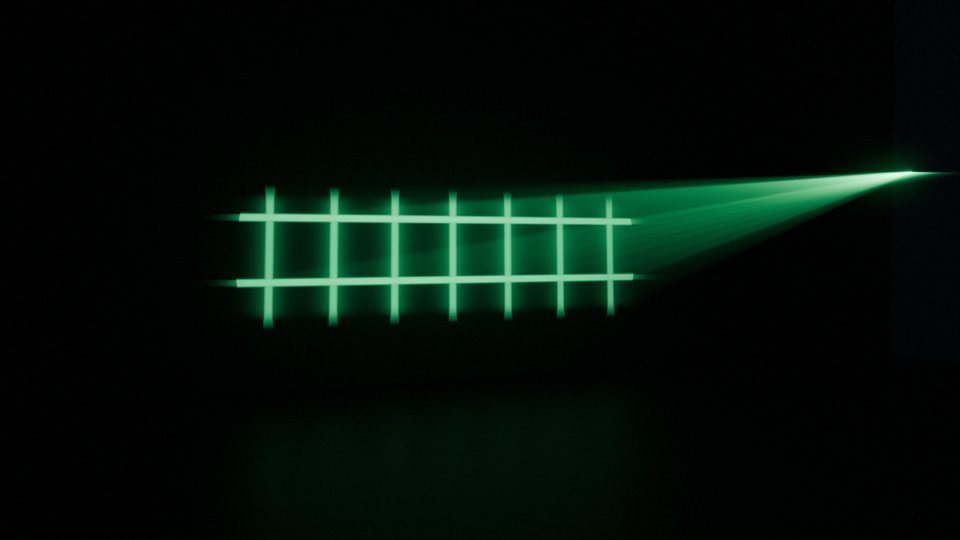
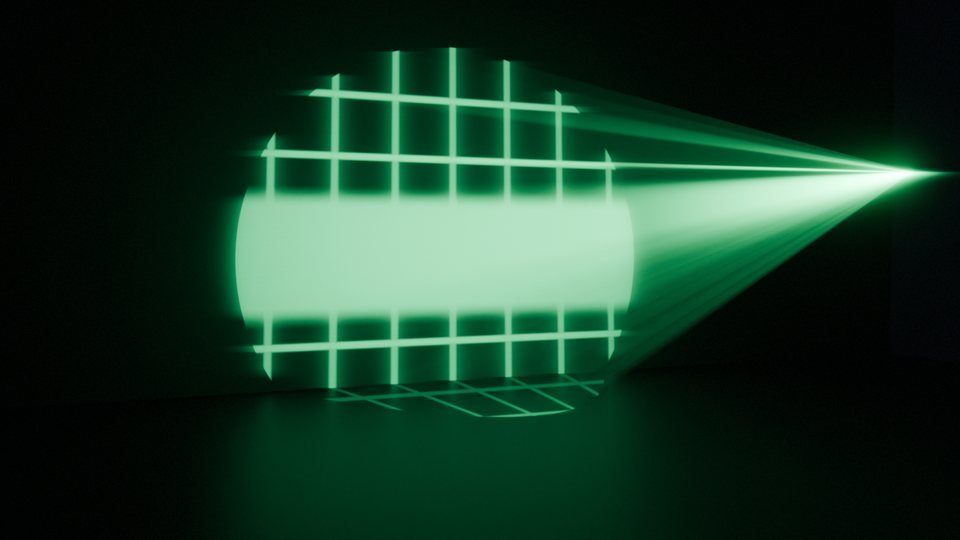
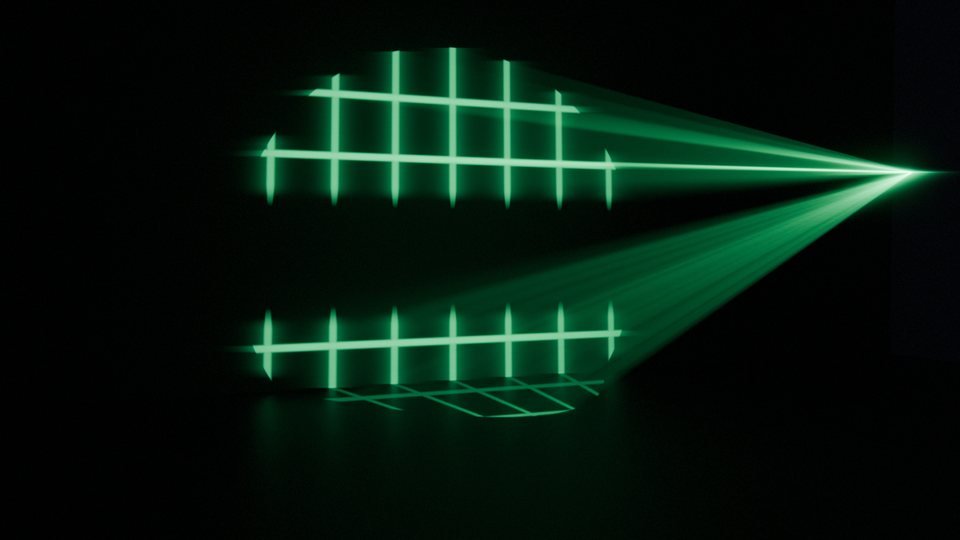
Any second preset on top of the first, with five ways to combine them. Below: a Grid alone, then the same Grid against a Scan Bar in each blend mode. A grid cut by a scan bar is a different pattern to either one.


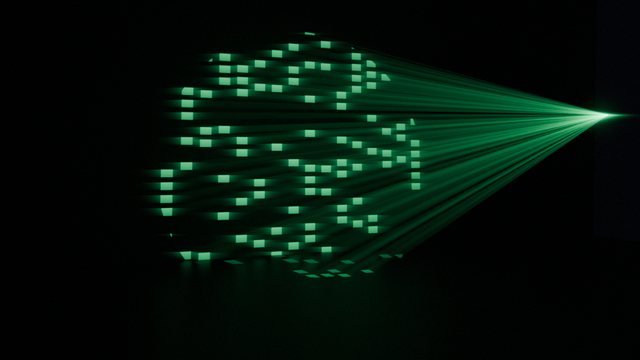
Shape bends the coordinates before the pattern is drawn, so it reshapes the geometry rather than dimming it. Level reworks the finished pattern.
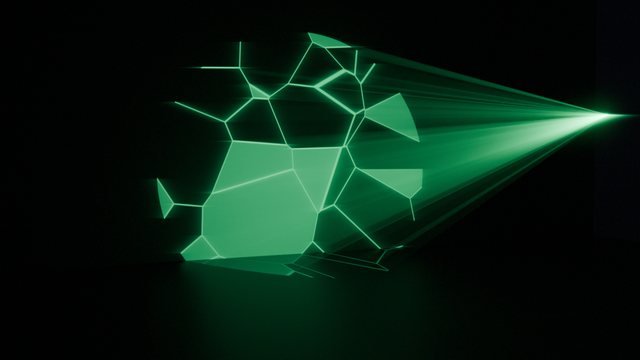
One preset — Facets — under two of the stages. Shape also offers Mirror, Pixelate and Distort; Level adds Invert, Gain, Pulse and Edge Fade.
A real show laser draws with one moving dot. Switch this on and the pattern is hidden, then revealed along a scan path behind a bright head with a decaying trail — the authentic ILDA look, and a drawing-on reveal for any preset in the library. Raster, Radial, Spiral or Linear; set the scan rate, head length and boost, trail and glow, and a persistence floor so the rest of the pattern stays faintly visible.
Bake a track’s loudness — band-limited, with attack and release, or a hard square gate — then route it at Light Power, Global Speed, or any knob on the pattern, second pattern, effects, trace or colour stages. Each route gets a Quiet and a Loud value mapped from the clip’s measured range, and the routes are ordinary Map Range nodes you can tune by hand afterwards.
05 · Volumetric beams
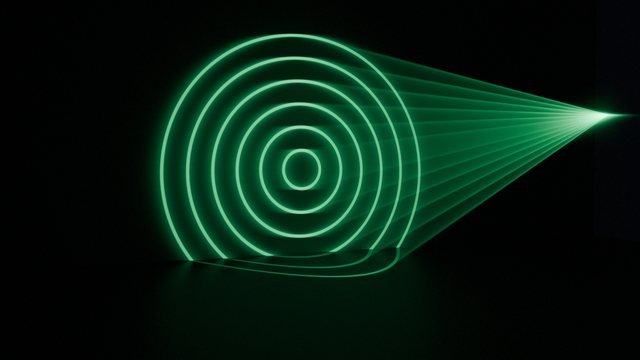
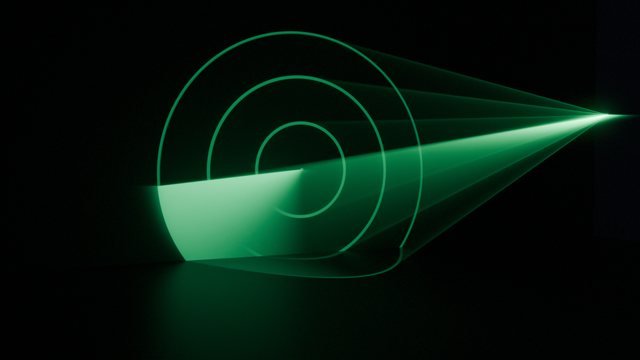
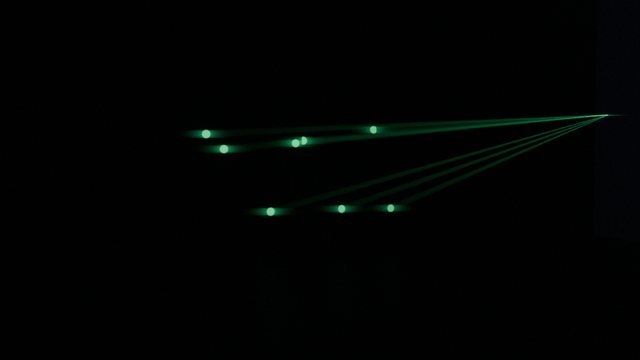
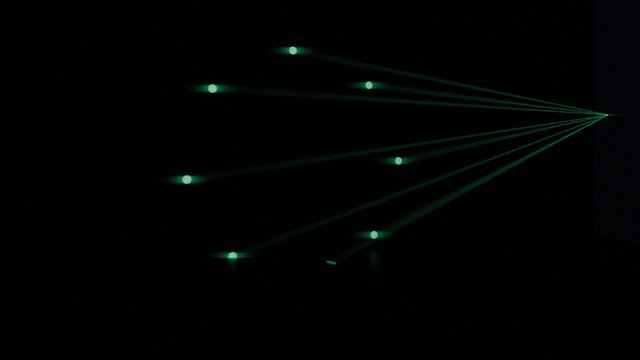
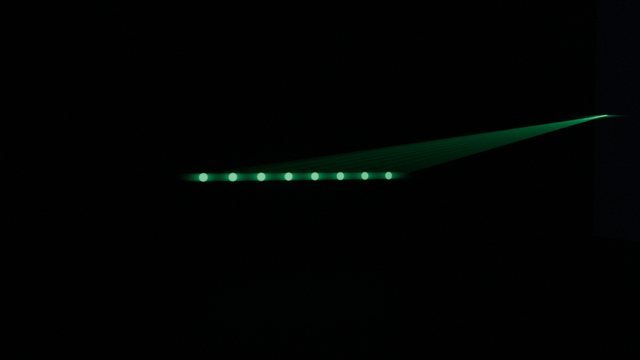
Real volumetric scattering is the expensive way to see a beam. The Beams panel builds them as geometry instead — seconds to render, works in Eevee, casts no shadows.
One thin emissive tube per beam, from a Geometry Nodes modifier parented to the light, raycast onto a Hit Surface so each stops exactly where the light lands.
Beam count, width, sway, speed and seed are in Pattern Settings and drive the geometry through drivers, so the shader and the mesh always agree — change the beam count once and both follow.
For patterned beams in air, a grid hanging in haze, you still want Add Atmosphere and real scattering. Keep density at 0.01–0.03 and let the denoiser work.
06 · Noise
Noise is baked into the technique: the light is transparent everywhere except the lines, so most samples land on nothing. Two things fix it, and the first one is the light type.
| Same hairline grid, 3 m throw | Area, 1° spread | Spot, Blur 0 |
|---|---|---|
| Line width | ~5 cm (spread × distance) | as thin as you set it |
| At 256 samples | still speckled | clean |
| At 4 samples | unusable | anti-aliasing only |
A Spot with Blur 0 is a point light, so Cycles evaluates the pattern at one deterministic position per shading point. An Area light samples at random across its surface and, at the 1° minimum spread, almost every sample misses the line.
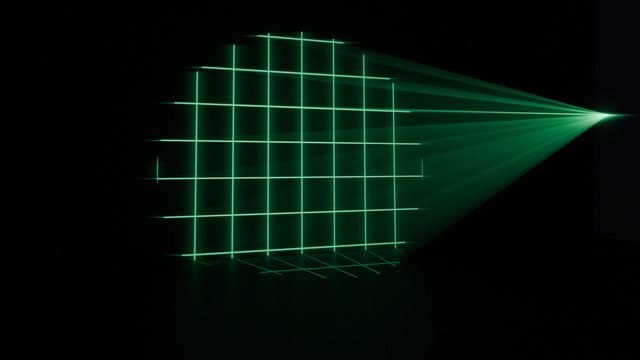
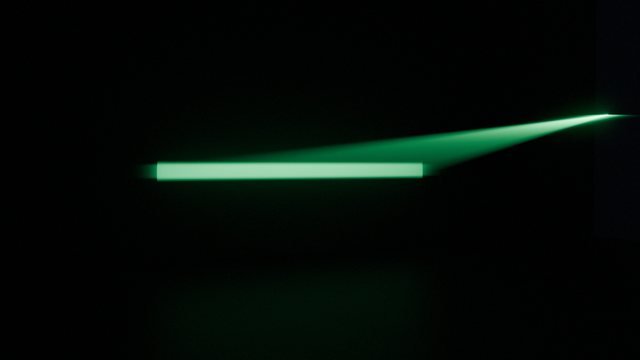
The lines hold their width all the way across the throw, and the cone behind them is mesh, not volume. Laser Thin sets every width control on the current preset to a hairline in one click.
07 · Compositor
A laser in a photograph never looks like a laser in a raytracer. The beam is clean geometry; the camera is not.
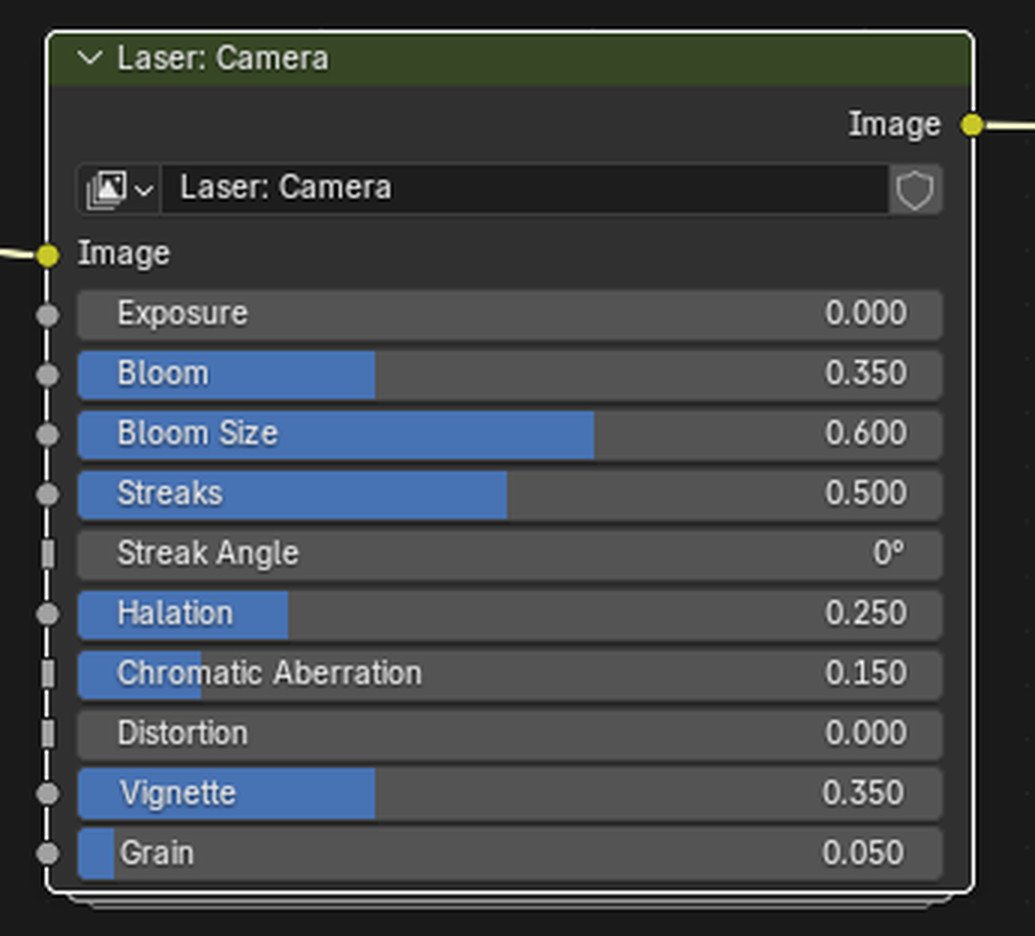
Scene Helpers ▸ Add Camera Look drops one
compositor group, Laser: Camera, between Render Layers and the output.
It puts the artefacts back, and it is where the brightness of a laser actually comes
from. Every stage has one slider; 0 switches that stage off.
08 · Editions
A lower tier is produced by deleting whole modules, so code that is not in the zip cannot be unlocked. The package folder is the same in all three, so a .blend crosses editions and upgrading is install-over-the-top.
| Free | Lite | Pro | |
|---|---|---|---|
| Price | free | $19 | $34.99 |
| Presets | 8 | 33 | 34 |
| Area and Spot projectors Placement, wavelength colour, camera look | ✓ | ✓ | ✓ |
| Volumetric beams The panel itself is in every edition | Beam Fan | all four | all four |
| Second pattern Five blend modes | — | ✓ | ✓ |
| Effects Shape and Level | — | ✓ | ✓ |
| Rainbow, per-element colour Per Element needs a preset with discrete cells, bars or beams | 3 presets | all of them | all of them |
| Saved presets, copy / paste | — | ✓ | ✓ |
| Galvo trace | — | — | ✓ |
| Audio reactivity | — | — | ✓ |
| Image / video, text, SVG | — | — | ✓ |
09 · Under the hood
Nothing here is hidden from you. Open the light in the Shader Editor and every stage is an ordinary node group you can extend.
1/(2·tan(cone/2)), driven live from the cone
angle — which is why a preset looks identical on either light type.frame × fps_base / fps, so
animation is in seconds and survives a frame-rate change.Laser: <Name>, and their
group inputs are exactly what Pattern Settings draws. Add a socket and the panel
draws it.
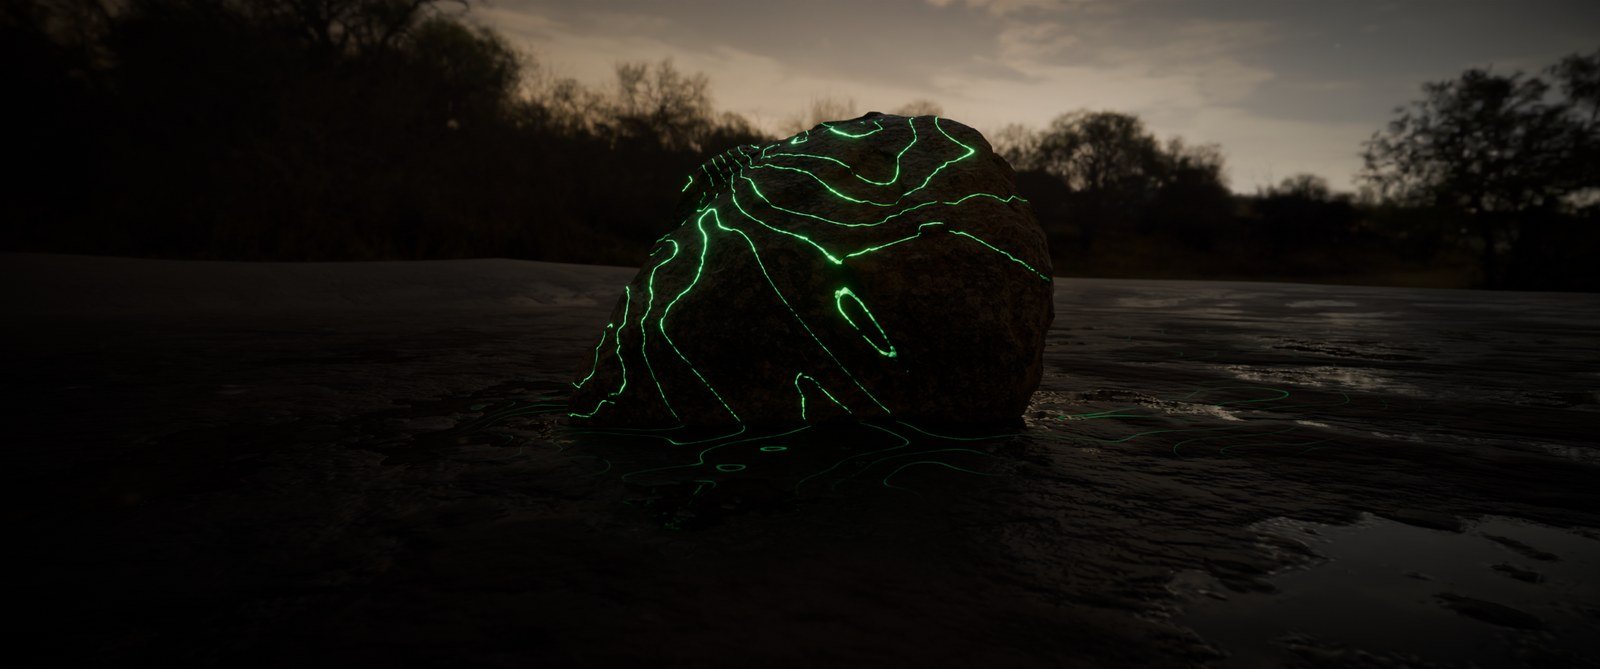
The pattern follows the surface because it is light. Nothing is projected onto a UV and nothing has to be unwrapped.